How to Paint Shoes
We may earn commission from our affiliate partners when purchasing products through our links. Learn more.
Painted shoes can seem like an odd concept at first, but trying to paint your shoes can actually be a lot easier than you might think. Painted shoes can be a great way to get a unique style, brush over areas that have been damaged and worn away, or simply as a way to refresh the existing patterns and colors.
But how do you paint shoes, and which shoe types are best for being painted in the first place? Here is a quick breakdown of how to paint a pair of shoes effectively, safely, and quickly.
What Can I Paint?
It is possible to paint canvas shoes, leather shoes, mesh shoes, and even vinyl shoes, among other types. Different materials might need different paint types, but all are suitable for trying to create custom designs. Softer shoes like sneakers may be harder to paint on initially, but it is easy to get used to them.
Preparing the Shoes
Before you can apply any paint to the surface of your shoes, you need to prepare them.
Preparing your Gear
Make sure you have everything you want for your design: tape (to cover up areas you do not want to paint), at least one clean brush, enough colors for painting the design that you want, a sketch or mental outline of your design, and paper or fabric sheets to catch paint drips.
Primer for Soft Materials (Canvas Shoes and Sneakers)
For most soft options like canvas shoes, you will want to use something like Angelus Leather Paint and Angelus 2-Soft Fabric Medium to get clean, easy coverage across the surface of your shoes. A primer will allow the paint to stick, which can protect the painted shoes from unexpected flaking. Give the primer at least a few hours to dry properly, especially if you use multiple primers mixed together.
Primer for Hard Materials (Leather)
Leather shoes will require leather-surface-specific primers to support the leather paint you will use later on. Leather usually needs this prep before paint will stick at all, so don’t skip the prep work yourself. Acetone is quite a common option here since acetone-based leather prepares can work well.
Primer for Vinyl
Vinyl needs to be sanded slightly to roughen it before you apply leather primer, then hit with a spray primer that supports vinyl surfaces.
Protecting the Shoes
Some areas of the shoes do not need to be painted, and others will not hold paint at all. An important tip is to cover those areas with tape, which stops the paint from seeping into places where it can’t easily be removed, such as inside a composite sole.
Other Tools
If you are wanting to try painting shoes in a very specific way, some other gear can come in handy. Not all of these are exclusive, professional gear – they are just things that you might have forgotten. Having them ahead of time can make each step easier, but it is fine if you wait until you need them to go and grab them.
Markers
Markers are perfect for outlining parts of your design and can touch up colored spots once the paint is dry. Be sure to have some within reach if you think you will need them. The tips of these markers are often perfect for making outlines, so do not push too hard.
Pencils
Some shoes can be sketched on with a pencil, allowing you to easily create outlines that will not be visible once you paint over them. A key tip might be to practice on a part of the material that you are going to paint over anyway, just to get used to how sketching on sneakers or other soft shoes feels.
Airbrushes
Airbrushes are great for fast coverage if you want a single color all across one shoe. Just be aware that you can only really do one color at a time, so this is best for the first step before you add extra details.
Creating a Design
The design dictates what you paint (and how you paint it), which means that getting good designs in mind can make the process much easier. The creative process is all down to your own preferences, but actually having the design ready to duplicate can make a huge difference.
Make sure to practice as much as you need to, and try to sketch out your design on the shoe with a pencil if you can. You can also plan it out on paper: just remember that shoes are not flat, so the pattern will need to curve slightly when you actually paint them.
Planning your Design
Planning out the design on your shoe is as simple as sketching it out or drawing the outline with a marker if you really want to. Remember that you can sometimes wipe off mistakes with a cloth dunked in water, but you will not have much of a window to do it, so it is best to use an easy-to-remove method such as a pencil first.
Make sure you do not push on the material too hard since the impression might show through the finished designs once you paint the shoes. Pens and pencils work well for this but practice with the pens before you even place the tips near your shoes. Pens are small and light, but on fabric sneakers or other soft shoes, you never know when you will leave a mark.
Cleaning the Shoe
Before you start painting, the most important step is to clean the shoe. This means that you clear off any dirt, clear out anything inside (if you plan to paint part of the inside), and generally just try to clear up the shoe that you are working with. Water can help, as long as you let the shoes dry before the painting process begins.
With some paints, mainly acrylic ones, dirt can become far more obvious once painted. Even if a pair of shoes look clean, you want to clear the surface with a damp cloth and check for wear before you decide that it is fine to start applying acrylic paint.
For some shoes, such as canvas sneakers, you will also want to make sure that you tape up areas made from a different material. Canvas and leather do not use the same paint types, so it is best to tape up the canvas while painting the leather, and so on. This step can be important when dealing with mixed-material designs.
Painting the Shoe
Applying the paint is the part that can take the longest, and it is easy to see why. Depending on the materials used in the shoes and the designs you are aiming for, you will need to keep different techniques in mind and approach the shoe surface in different ways.
Most materials can use the same techniques since the only major differences are in the paints that you need to use, but there are plenty of other tips that might be important to getting your designs perfect.
Thin Coats with Acrylic Paint
Multiple thin coats can sometimes be the best way to apply acrylic paints, especially if you worry about letting the paint seep through ventilated or perforated fabric such as mesh. A thin coat of acrylic paint will not contain as much water, so it will not drip as much – thick globs of acrylic paint are a lot harder to work with due to this.
This can also protect fabric that is not meant to be painted, such as soles with multiple layers. By using layers that you can paint around the actual shape of the shoe without wet patches or drips, you can get more refined details and won’t accidentally drip paint over areas you have already painted.
Spray Paint
Spray paint can be a great alternative to regular paints, allowing you to apply a single-color finish to a surface that will often dry fairly quickly. Spray paint is ideal for completely repainting over shoes to give them a new solid color or for filling in very scratched areas.
Another major use of this paint is as a baseline for the rest of the pattern. Painting with an acrylic spray can allow you to quickly fill out some sneakers with base colors, which you can then paint over to add the design itself. This saves you from painting or applying the base layers all around the shoe by hand, which can take a long time.
Brush Sizes
Sometimes your brush is more important than the paints you are applying. If you have a pattern for your shoes that requires very careful lines with acrylic paints, you do not want a large brush. By contrast, if you are painting a single color around the whole of a leather shoe, a small brush can make it take much longer.
You should keep at least two brushes: one for general painting and one for painting very small details. Be sure to keep a cup of water and a cloth nearby to properly clean them every time you finish using one, too.
Soft Shoes
If you struggle with painting soft shoes, consider placing something inside that you can remove once the final step is done. This could even just be balled-up paper or your own hand – anything to keep the shoe solid when it comes to painting the upper.
Remember to tape the soles, including the insoles, if you are painting the inside of the shoe. Tape is not hard to apply, and without proper tape, it is easy to get paint on something that can’t handle that kind of paint well.
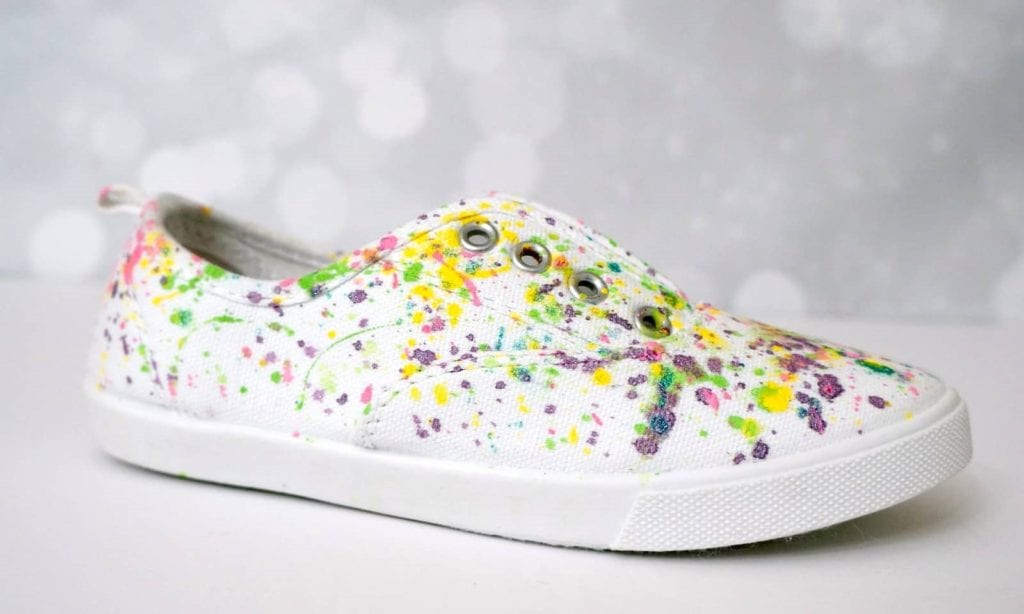
Use Paint Mixtures
There are some ways to make your paints more vivid, especially if you are looking for something intentionally colorful or vibrant. For example, some people mix glitter into their paint pots or use two paints at once without completely mixing them to create a strange blend of both. Whatever comes to mind can work, as long as the paint can still dry and it does not wear out the shoe material.
You can also use second coats of paint to do the same thing. A second coat is only one extra step, but it can be a great way to add some fine detailing or improve how the paint will apply to the fabric. You can even blend more colors in or get custom gradients that are not possible using only the first coat.
Finishing Off your Painted Shoes
After you apply the paint, you need to close the paint up with sealant. A proper sealant will let your paint stick properly while also retaining the color, keeping the same finish, and managing to protect the pattern that you have created. Of course, you want to remove any tape and let the paint dry before you apply sealant.
Remember that you can’t really remove sealant easily once you spray it on, at least not by hand. Only apply this last step when that you are happy with how your shoes turned out since it will be harder to fix the color or redo older steps after you seal them.
Whatever you end up doing with your shoes, following these steps should give you great results with very little extra effort. Just be aware that not all shoes are the same, so you’ll have to practice if you want to create something amazing on your first attempt.
Sources:
https://empressofdirt.net/how-to-paint-shoes/
https://www.wikihow.com/Paint-Shoes?amp=1